


Why Wick Placement Matters More With Sand Candles
If your sand candle isn’t burning the way you expected, the wick is almost always the reason. Unlike traditional jar candles where the wick is pre-set at the factory, sand candles give you full control — which means a small learning curve upfront, and much better results once you understand the basics.
Wick placement affects flame size, burn time, wax efficiency, and safety. Get it right and your candle burns cleanly for hours. Get it wrong and you’ll see a weak flame, fast burnout, or uneven melt.
Every Candella sand candle includes a pack of 15cm wicks designed to be trimmed and adjusted to your vessel. Here’s exactly how to use them.
Step 1: Trim the Wick to the Right Height
Leave approximately ¼ inch (6mm) of wick above the wax surface.
Use scissors or wick trimmers to shorten the wick before every burn — not just the first one. A wick that’s too long creates a large, unstable flame and excess soot. A wick that’s too short struggles to stay lit.
The ¼ inch rule applies whether you’re setting up a new candle or relighting after a previous burn.
Step 2: Insert the Wick Deep Enough
The wick should feel anchored — not loose or wobbling.
Push the wick firmly into the sand wax so it stands upright on its own. If placed too shallow, it will tip, burn out faster, or fail to draw enough wax to maintain a flame.
A deeper placement improves consistency and burn time significantly. As a guide, the base of the wick should sit at least 2–3cm below the wax surface.
Step 3: Centre the Wick in the Vessel
An off-centre wick creates uneven burn zones and wastes wax.
Before lighting, confirm the wick is:
- Standing straight — not leaning
- Positioned near the centre of the vessel
- Not touching the container wall
- Not buried too deeply below the surface
This 10-second check makes a noticeable difference in every burn.
Step 4: Test, Observe, and Adjust
Your first setup doesn’t need to be perfect — sand candles are forgiving.
Light the candle and observe the flame for the first few minutes. A healthy flame is steady, upright, and approximately 1–2cm tall. If it’s too small, too large, or flickering excessively, extinguish the candle, let it cool completely, and reposition the wick.
Most issues are solved in one or two adjustments. Many users find their second setup burns noticeably better than their first.
Common Wick Mistakes (and How to Fix Them)
| Problem | Likely Cause | Fix |
|---|---|---|
| Flame too small or weak | Wick too short or too shallow | Reposition deeper, leave more wick exposed |
| Wick keeps going out | Wick too short or buried | Trim less, push deeper into wax |
| Flame too large or smoky | Too much wick exposed | Trim to ¼ inch before relighting |
| Uneven wax melt | Off-centre wick | Recentre before next burn |
| Wick tips over | Placement too shallow | Push base deeper into granules |
Wick Placement for Different Vessel Sizes
Vessel size affects how your wick performs:
- Narrow vessels (under 6cm diameter): Standard wick placement works well. Keep centred and trimmed to ¼ inch.
- Wide vessels (over 10cm diameter): Consider using two wicks placed equidistant from centre for even coverage.
- Deep vessels: Ensure the wick base is anchored firmly — deeper vessels need more secure placement.
- Shallow bowls: Use less wax fill and monitor the flame closely as it burns lower.
Not sure which vessel works best? See how we style sand candles in different vessels →
Why This Is Different From Jar Candles
Traditional candles come pre-made with the wick already fixed. Sand candles give you control instead — which means a small learning curve upfront, but far more flexibility long term. You choose the vessel, the fill height, and the wick position. You refresh and reuse when ready.
Once wick placement is dialled in, most people find sand candles easier to maintain than jar candles — no tunnelling, no wasted wax, no overheating glass.
Ready to try it? The Discovery Scent Bundle is the easiest way to start — includes wicks, four scents including Lavender Fog, and everything you need for your first burn.
Need a Visual Guide?
Watch our wick placement tutorial reel: → How to place a wick in a sand candle
More tips and styling ideas: @livingwithcandella
Cotton Candle Wicks – Pack of 8
Replacement cotton wicks for Candella sand candles. Eight per pack, 15 cm each, with approximately 40 hours...
Learn more →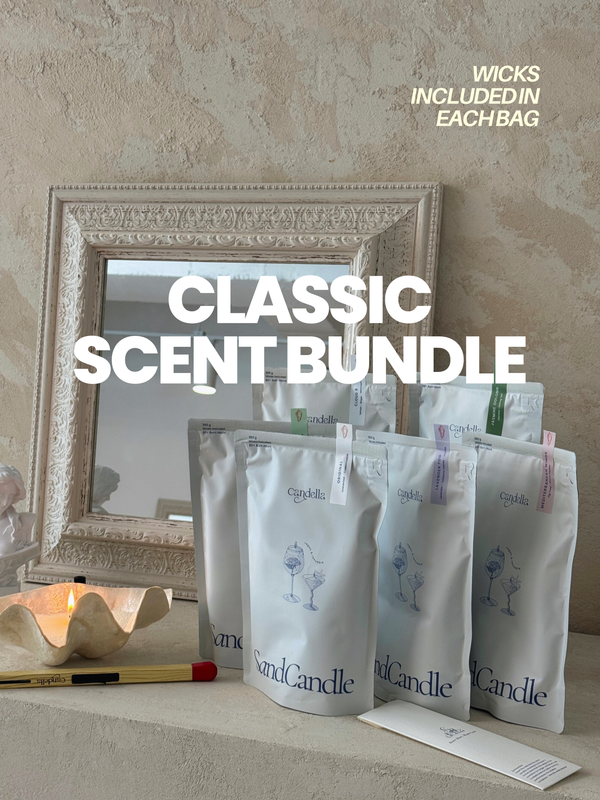
Eco Sand Candle Classic Set – 6 Scents
A sand candle is a pourable candle made from granulated wax that can be used in any heat-safe vessel. Pour ...
Learn more →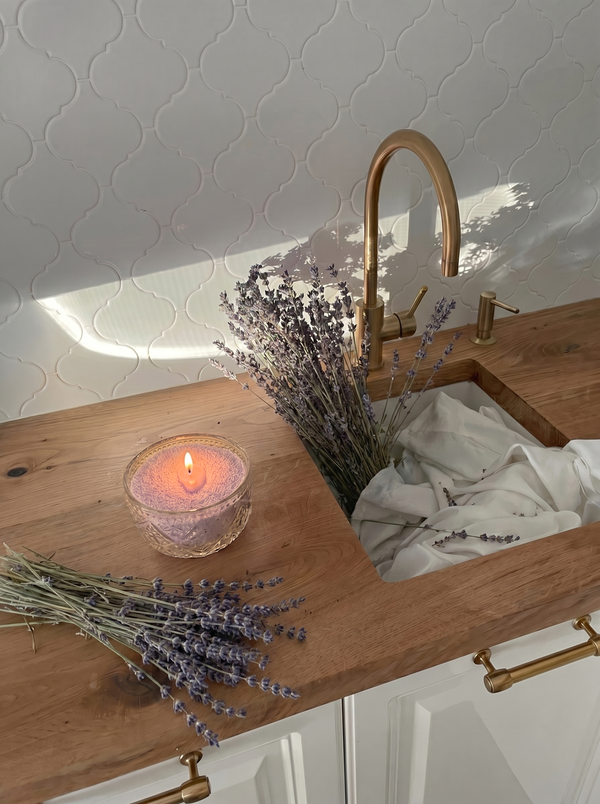
Lavender Fog
A sand candle is a pourable candle made from granulated wax that can be used in any heat-safe vessel. Pour ...
Learn more →